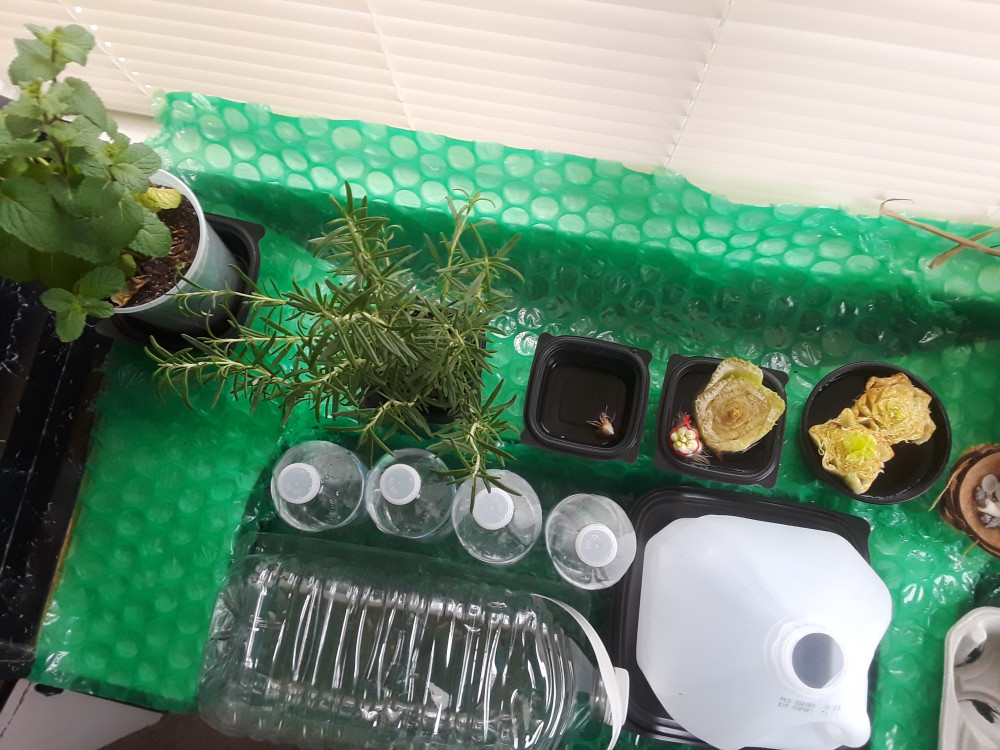
Have fun growing your own windowsill garden even without soil. Some of the kitchen scraps you throw out every day will regrow even if they have scraggly roots.
Experiment with this project, and it will give you a sense of pride growing some of your own vegetables and herbs on a small scale.
Furthermore, a windowsill doesn’t have to be the only option as you can use another surface area that may be more convenient.
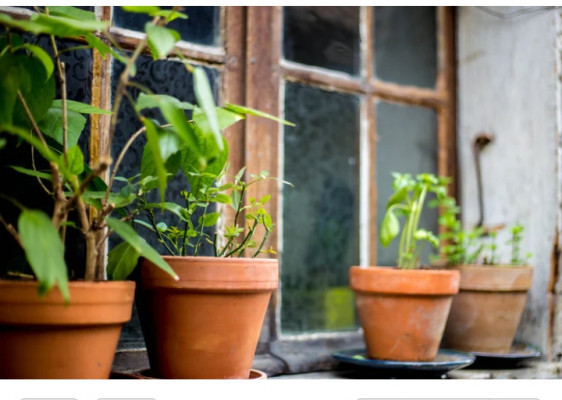
A Windowsill Garden | With or Without Soil
(As an Amazon Associate, I earn on qualifying purchases.)
The focus here will be on using two methods, namely water only or soil. Interestingly, I’ve had more success with using only water although I’m in favor of both.
Unfortunately, my plants in the soil developed mold and I was unable to save them. So, this is one thing to be mindful of as it could cost you valuable time or even discourage you.
Water is a major source of life, and plants absorb nutrients from the water, soil, and air. We get these nutrients from what we eat.
I didn’t use any aid to promote the growth of my plants, but there are grow lights and vitamins available on the market. There is also extensive information on how those work.
Moreover, my experiment didn’t cost me additional expenses except for a small amount of soil. So, you decide how you want to grow your windowsill garden. Also, do it your way.
Your Own Herb Garden | Or Your Favorite Vegetables
Some of the items you may want to consider growing are:
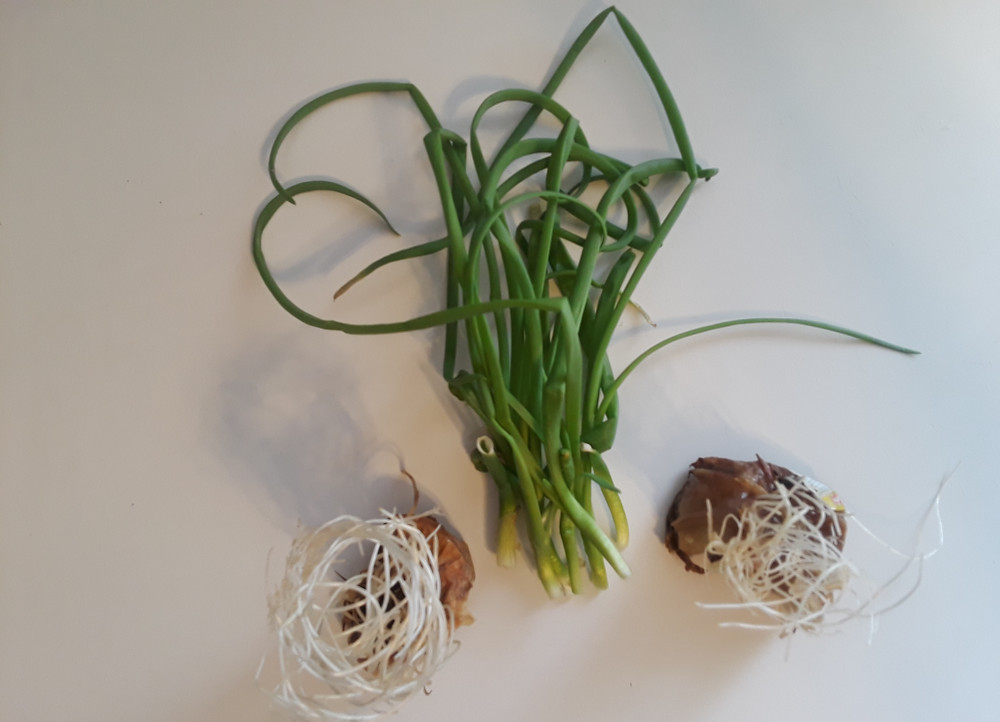
- Onions: These will produce just the greens of the onion similar to scallions or green onions.
- Scallion or Green Onions: These also produce more greens and may have thinner leaves than the original depending on the quality of the original plant.
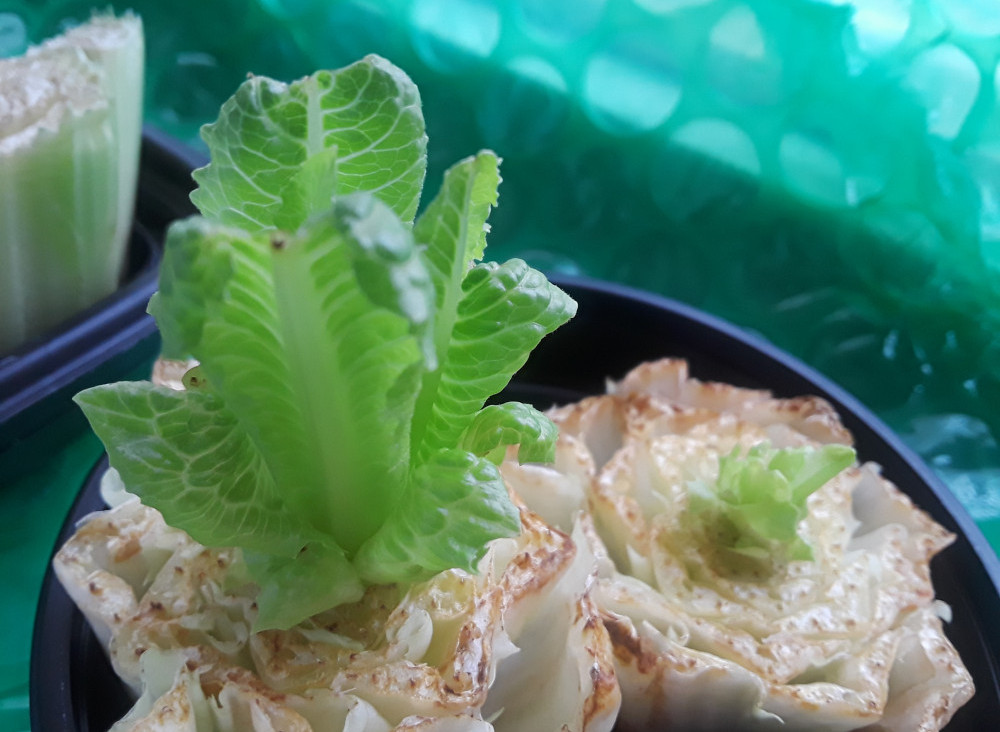
- Lettuce: Cut about an inch from the bottom without separating the leaves.
- Celery: Also, cut an inch from the bottom without separating the stalks.
- Assortment of Herbs: Experiment with herbs of your choice. And cut them at an angle just below the node where a leaf grows.
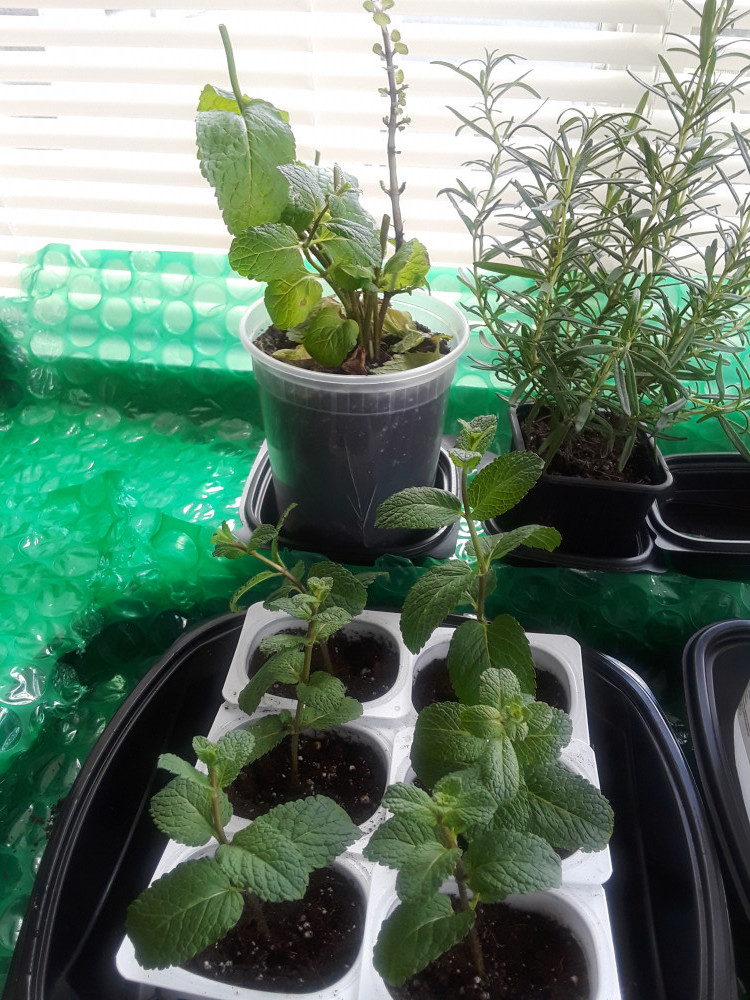
- Rosemary: I bought this plant in the supermarket and transplanted clippings in water. I replanted them in the soil after the roots appeared. This is a great aromatic herb for tea, soups, and seasoning meats.
- Mint: Also, this was store bought and treated like the rosemary.
- Basil: And this can be done exactly like the rosemary and mint.
All you need is about one half to an inch cut from the bottom with the roots for any vegetable of your choice. And, the clippings from herbs are cut diagonally below the node.
Strip the bottom leaves off so they are not immersed in the water. These could rot and cause contamination.
You could transplant them outdoors eventually if you decide to make this a bigger project. This is a good idea especially if you live in an area that doesn’t have extreme weather conditions.
Containers | Recycled Plastic
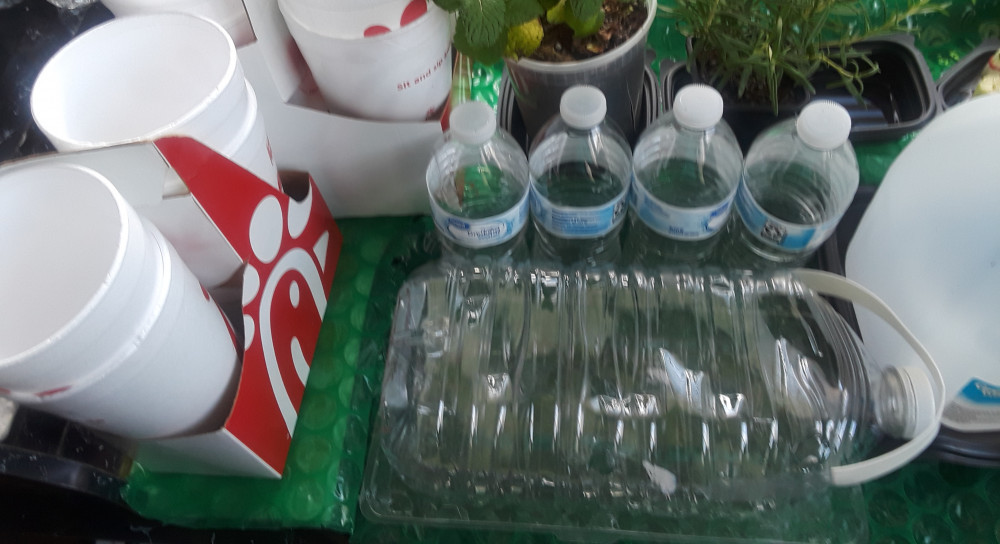
Here is an excellent way to recycle or repurpose plastic of any size or shape. Water and juice bottles also make great planters using a few different methods.
- Discard the cover and use the entire bottle.
- Or cut off the upper section and use the bottom.
- You could also cut off the top section. Invert it over the bottom section, and make sure the bottom is taller for a better fit.
- Also, make holes at various points around the bottle.
- Finally, cut off one side of a bottle with four sides. Use it laying on the side instead of upright. It gives you a larger area.
There are more creative ways, but these are some of the basic ones. Otherwise, you could use plastic egg crates, food containers, and styrofoam cups.
If you don’t have enough of these items for yourself, ask family members, friends and neighbors. Interestingly, you may even inspire them to start their own windowsill garden.
Growth Cycle Above | The Roots Grow Down
You can harvest romaine lettuce in as little as 10-15 days, and sometimes get a second crop. Another set of blades will continue to grow, and this gives you the opportunity to reap the more mature ones first.
Furthermore, roots grow thicker and longer depending on how much room they have. So, give them some depth if possible.
For example, use the inverted top portion of a bottle over the larger bottom section for the onion. Therefore, the root will grow all the way and provide more nourishment to the plant. Additionally, it will be fun to watch this process.
Here are my actual results from my journal in 2020.
Green Onions:
- I set a tiny piece from the bottom in water as an afterthought to test, and left it in my sunroom. (April 7)
- Set 7 bottoms from the refrigerator in water. (April 16)
- Then moved them to the sunroom. I noticed sprouts on 7. (April 19)
- I confirmed tiny sprout on (first) small root. (April 20)
- Next, I transferred them to a plastic egg crate with water. (April 22)
Romaine Lettuce:
- I set 2 bottoms from the refrigerator in water in the kitchen. (April 16)
- Then moved them to the sunroom where they sprouted faster, but one was more advanced. (April 19)
- The smaller one started drying up. (April 26)
- I harvested my first crop, discarding a few leaves from the smaller one. The largest leaves were 5″ long. (April 27)
- I stripped the outer original leaves, and placed the stumps with new growth in fresh water. (April 27)
More from My Journal | Vegetable and Herb
Celery:
- I placed 1 bottom from refrigerator in water in kitchen. (April 16)
- Then moved it into the sunroom. (April 19)
- I confirmed a tiny sprout. (April 20)
Mint:
- I transplanted 6 cuttings from original in soil in yogurt cups, and placed 1 in water in sunroom. At night, I top watered them. (April 20)
- Monitored original plant, 10 stems, with many tiny leaves on 1 in particular.
- I top watered them, and 2 were looking droopy. (April 21)
- Then moved them from the sunroom to the kitchen. (April 23)
- I bottom watered them for the first time as 5 out of 6 mainly dried up. (April 28)
- Next, I transplanted a single one from water to soil, and noticed good root system formed on two bottom nodes. I top and bottom watered, slightly. (April 28)
- Finally, I top watered all lightly and additionally bottom watered new transplants. (April 30)
 Onion Greens and Roots
Your Windowsill Garden | Where Things Grow
How does your garden grow? Eventually, your garden does grow! So, make it fun and exciting for yourself or with other family members. If you haven’t started you own, give it a try. But be careful, it could become addictive.
We looked at growing your favorite herbs and vegetables in water or soil. Also, making use of recyclable bottles and other containers in any shape or form.
I like to use the phrase, “Nothing Wasted.” Similarly, using kitchen scraps and recyclable plastic to grow your windowsill garden exemplifies this concept.
This article, “Grow Your Windowsill Garden | From Your Scraps,” is inspired by my own personal experiment. I didn’t have enough windowsills space. So, my old manicure table in my sunroom provided an excellent space.
It had been a lot of fun. But finally, I had to move on to another assignment. However, I look forward to the next opportunity to make a go at it once again.
What is your windowsill garden story? Do you plant herbs and vegetables? Please share them with our readers. I’m sure they will be very helpful and inspiring.
If you have any questions or comments, please feel free to leave them below. I will be more than happy to address them. I am the administrator for this site.
Veron Lee Campbell | Entrepreneur | The Way 4WordEnterprises
